
Review · SNOWSHOE HIKES
Lofoten Islands: Guided Snowshoeing Tour – Uphill version
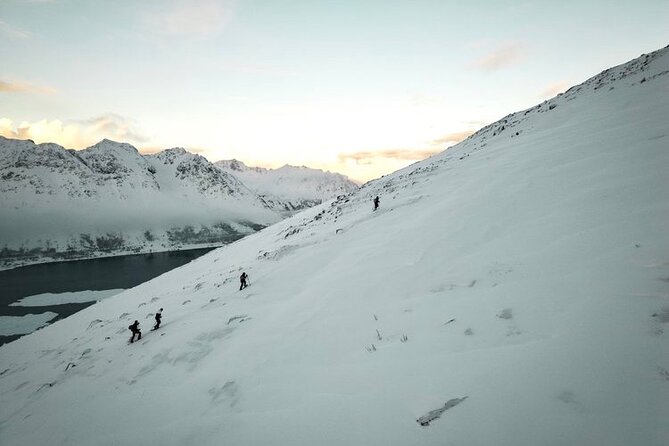
Snowshoeing uphill turns Lofoten into a gym. This guided winter tour takes you over snowy mountains near Gimsøystraumen, with big views and a proper nature talk built in. I especially like the uphill workout with pacing that adjusts to the group, and I like the safety-first guidance from certified local nature guides. One note before you book, this is not a flat, easy walk, you need medium fitness to handle a snowy climb.
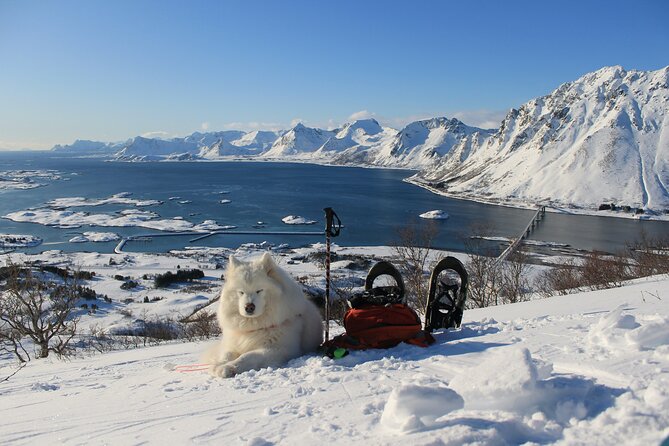
The tour also has a local-feeling vibe thanks to the guides. In past departures, guides such as Timea and Paul have been praised for matching different hiking speeds, paying attention to group needs, and getting people to great vantage points when conditions allow. And yes, Luna, Paul’s gentle dog, has been part of the experience for at least some groups, which makes the whole thing feel warmer and more personal.
You’ll be outside for about four hours total, and the return is built around the realities of weather and snow. If you’re the type who hates carrying layers, you’ll want to plan ahead because cold, wind, and wet snow are part of Lofoten in winter, not a surprise you can ignore.
In This Review
- Key highlights you will notice right away
- Why an Uphill Snowshoe in Lofoten Feels Different
- Getting There at Gimsøystraumen, and Finding Your Guide
- What Happens First: The 10-Minute Safety Briefing
- The Main Climb: Guided Snowshoeing for About 2 Hours
- The 20-Minute Break and Photo Stop
- The Final Stretch: Another Guided Hour and More View Time
- How Weather Changes the Plan (And Why That Is Good)
- Gear: What You Get, and What You Must Bring
- Who This Uphill Tour Is For (And Who Should Skip It)
- Price and Value: Is $118 Fair for 4 Hours?
- Small Groups, Private Options, and Why It Matters in Winter
- Practical Tips to Make Your Hike Easier
- Should You Book This Uphill Snowshoe Tour?
- FAQ
- How long is the uphill snowshoeing tour?
- Do I need snowshoeing experience before I go?
- What gear is included in the tour price?
- What should I bring with me?
- Where do I meet the guide?
- Is the tour only for advanced hikers?
- What is the minimum age?
- Is it suitable for people with mobility impairments?
- Can I cancel, and can I pay later?
Key highlights you will notice right away
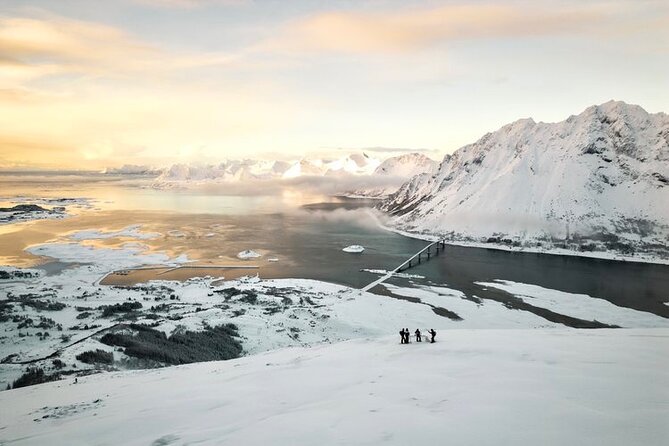
- Uphill snowshoeing with a realistic chance at ridge or peak depending on snow and visibility
- Local English speaking nature guides who explain wildlife and culture as you move
- Gear included (snowshoes, poles, and spikes when needed), so you can travel lighter
- A paced 4-hour structure with a short safety briefing, guided climbing time, and a photo stop
- Small group or private options, which helps if you want a more personal rhythm
- Possible photo sharing after the hike, based on past experiences
Why an Uphill Snowshoe in Lofoten Feels Different
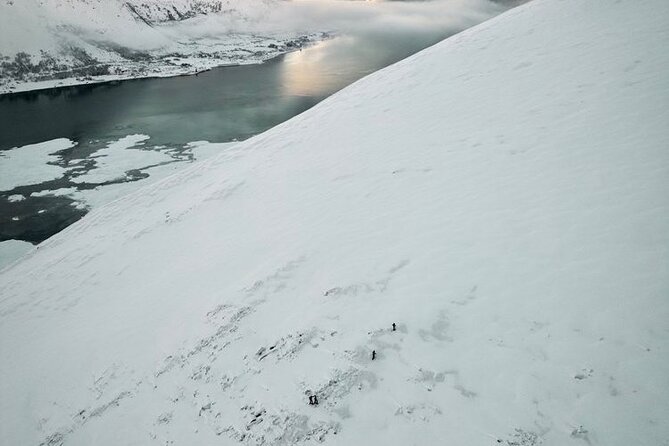
This is an uphill version of snowshoeing, which changes the feel fast. The goal is not just to cross pretty trails, it is to work your legs on snowy terrain while you still get those Lofoten viewpoints from above.
I like that the tour is honest about the physical side. You are there to walk uphill on snow and you may reach a ridge or even a peak if conditions allow it. If conditions do not cooperate, you still keep moving up as far as safely possible and then you turn around, with the total outing capped at the four-hour window.
The best part for me is the combination of effort and quiet. You get that steady breathing work from climbing, but you also get long stretches where the winter around you feels calm and wide open. The view is the payoff, especially when the light hits the snow-covered mountains and the winter fjord scene opens up.
More Snowshoe Hikes in Norway:
- From Tromsø: Snowshoeing Hike with Picnic Lunch and Photos
★ 4.9 · 840 reviews - From Tromsø: Guided Husky Snowshoe Hike and Husky Camp Visit
★ 4.9 · 715 reviews - From Tromsø: Snowshoe Hike in the Arctic
★ 4.9 · 467 reviews
Getting There at Gimsøystraumen, and Finding Your Guide
You start at Gimsøystraumen, at the rest place by Gimsøy bridge (search Gimsøystraumen rasteplas). The area has a large parking lot and a red building with a seating area.
Plan to arrive early enough to park, get your layers sorted, and find the entrance. Your guide from Polar-folk.com will be waiting at the red building entrance. This matters because in winter, the temperature and wind punish delays, and you want to begin the safety briefing feeling ready.
If you are driving yourself, the good news is that the meeting point is set up for vehicles, not a random pull-off with no guidance. That takes stress out of the start.
What Happens First: The 10-Minute Safety Briefing
Before you move uphill, you get a safety briefing. This is not a 30-minute lecture. Think of it as a quick, practical setup so you know how to walk, what to watch for, and how your guide expects the group to move.
If you have never snowshoed before, this part matters a lot. Snowshoe technique is simple, but it is different from regular boots, and the guide will also explain how the gear works for traction and balance. You are not expected to be an expert before you arrive.
I also appreciate that the tour is led by an English speaking certified nature guide, not just a local who happens to know the area. That combination usually translates into a calmer group hike.
The Main Climb: Guided Snowshoeing for About 2 Hours
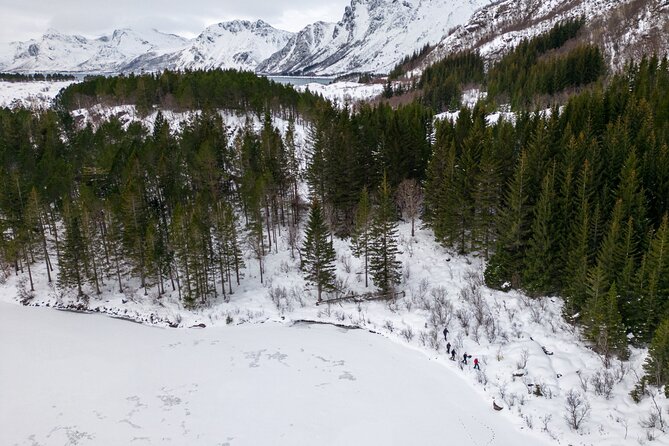
Once you start climbing, the tour becomes a steady rhythm: snowshoe step, breath, look up at the terrain, listen, repeat. You will walk through snowy mountain areas, with scenes that can include frozen lakes and snow-covered fjords and islands depending on the route and the conditions that day.
This is also where the nature and culture talk becomes real. Your guide shares information about the local environment, wildlife, and cultural points connected to how people live with winter in the Lofoten Islands. Instead of listening to facts while standing still, you get the information while moving through the same winter setting being discussed.
In some past hikes, the guide has managed to reach high points such as the ridge of the Glomtinden trail when weather cooperated. Even when you do not reach the highest mark, you still push upward enough that the views start to feel like a reward, not a consolation prize.
A few more Norway days worth weighing up
- Tromsø: Reindeer Sledding & Feeding with a Sami Guide
★ 4.8 · 6,417 reviews - Oslo: Scenic Fjord Cruise with Audio Guide Commentary
★ 4.5 · 5,375 reviews - Oslo: Guided Sightseeing Fjord Cruise on Premium Silent Boat
★ 4.7 · 1,826 reviews - Bergen: Past & Present Small Group Guided Walking Tour
★ 4.9 · 1,609 reviews
The 20-Minute Break and Photo Stop
After about two hours of guided walking, you take a break time and photo stop for about 20 minutes. This is the moment to reset: breathe, warm up a bit, drink something if you brought it, and take photos while the group is still together.
A practical tip: use this stop to check your comfort. If your gloves feel damp or your boots are too tight, fix it now. Winter hiking problems multiply fast, and the group is at a known point in the hike at this stage.
From past experiences with this provider, you may also get photo help after the hike, with at least one guest mentioning receiving photos a few days later. That is not guaranteed in the information provided here, but it is a nice bonus when it happens.
The Final Stretch: Another Guided Hour and More View Time
After the break, you get another hour of guided walking. By now, your legs know the pace, and the route often focuses on the best viewpoints you can reach safely before the overall time limit.
If the earlier conditions were good and the group felt strong, this is the phase where the scenery tends to feel most dramatic. In one past group, Paul led hikers to a top around 530 meters, with careful attention to the group’s pace.
Even if you do not hit a top number like that, you still get the main deal: admire Lofoten from above. On a clear day, the winter sea and mountain lines can look almost unreal, and you will understand why people travel to the islands in January and February even when it is cold.
How Weather Changes the Plan (And Why That Is Good)
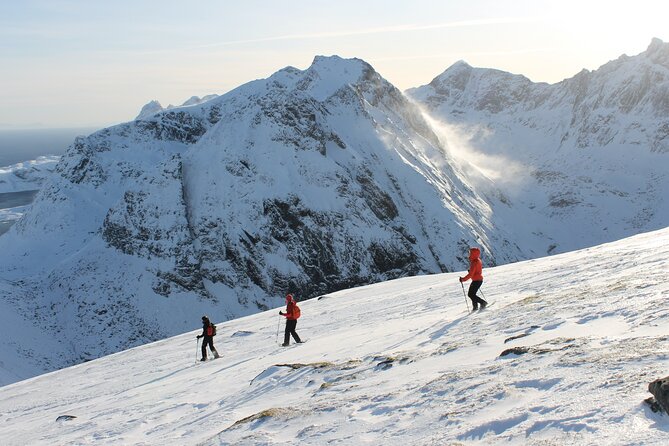
This tour is built to adapt. The climb aims for a peak if conditions allow. If not, you walk as high as the guide can safely take you, with the hike designed to return within the four-hour timeframe.
This is valuable because snowshoes and wind can turn a “pretty hike” into a risky one quickly. A good guide manages turning points, trail choice, and pacing based on what is actually happening outdoors that day, not what a map says.
The reviews also back this up. One guest noted the guide kept a well paced route even when weather was not ideal, and still found a great high point. Another praised getting to a ridge or top while adjusting speed for the whole group.
So treat this as a weather-smart outing. Your guide is not forcing the story, they are choosing the best safe version of it.
Gear: What You Get, and What You Must Bring
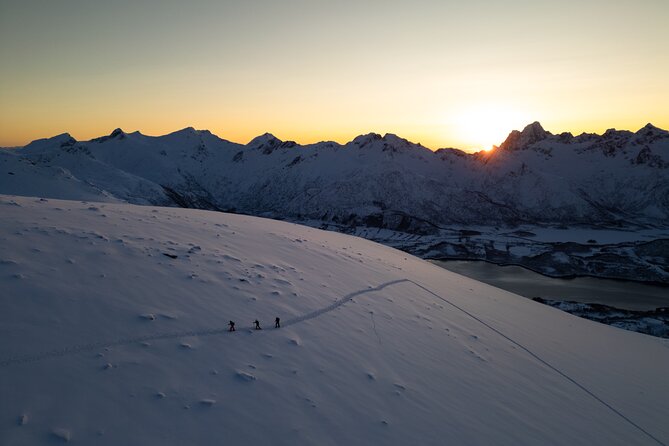
The tour includes snowshoe gear. You get snowshoes with poles and spikes if needed. That last part matters. On packed snow or icy patches, spikes can be the difference between steady footing and constant slipping.
Still, you must handle your own warmth and comfort. Pack the basics listed by the provider:
- Warm, comfortable winter clothing, ideally water repellent
- Windbreaker
- Waterproof winter boots (warm, waterproof, and hiking-ready)
- Hats and gloves
- A daypack
- Water
- Waterproof shoes and winter sports gear as appropriate
- Weather-appropriate outdoor clothing
My quick rule of thumb: if you would not be comfortable in cold rain and wind, upgrade it now. In Lofoten winter, wet cold can sneak in from seams and socks before you realize it. Wear layers you can move in, not just layers that look warm on a shelf.
Also, bring water and a snack. The tour info clearly says snacks and drinks are not included, so plan your refuel. You will work uphill, and even if it is cold, you can still get thirsty.
Who This Uphill Tour Is For (And Who Should Skip It)
This uphill snowshoeing tour is for adults who want a workout and a winter nature experience. You do not need prior snowshoeing experience, but you do need the ability to walk uphill on snowy terrain.
The minimum fitness expectation is described as medium fitness level, with an example of exercising at least once a week. If you love hikes that leave you breathing but not gasping, you should feel at home here.
It is not suitable for:
- Children under 16
- People with mobility impairments
- People with low level of fitness
If you are unsure, be honest with yourself about uphill walking in snow. A flat path is one thing. Snowshoeing uphill turns even short distances into real effort.
Price and Value: Is $118 Fair for 4 Hours?
The price is $118 per person for a 4-hour guided experience. That can sound steep if you compare it to unguided walking, but snowshoe tours are really paying for three things: a certified guide, winter expertise, and gear.
Here is what you actually get in the fee:
- Snowshoes and poles
- Spikes when needed
- An English speaking certified nature guide
And what you do not get:
- Snacks and drinks
- Your personal winter clothing and footwear
So where is the value? Mostly in reducing hassle and risk. You arrive with fewer gear problems, and you get route choice, safety setup, and the nature explanations. You are not just buying time outside, you are buying someone local who understands how far to go, when to turn, and how to keep the group moving well.
If you can do at least a medium uphill effort, this price starts to feel reasonable because the tour is short enough to be manageable, but structured enough to deliver proper viewpoint time.
Small Groups, Private Options, and Why It Matters in Winter
The tour offers private or small groups. That is not just a luxury detail. In winter, group size affects pacing, patience, and safety.
If your group is smaller, guides can slow down for someone who needs it, move faster with others, and adjust instruction without feeling rushed. Past feedback praised guides for accommodating different hiking speeds, which is exactly what you want when snowshoes and uphill climbs can slow people down in different ways.
If you like a more tailored pace or you want a quieter vibe, the private option can be a good match.
Practical Tips to Make Your Hike Easier
Here are a few things that will make a real difference on a snowy uphill tour like this:
- Wear boots you already trust in winter. New boots plus snow equals pain.
- Bring gloves you can actually grip with. You will use poles and adjust your balance constantly.
- Bring water, even if you do not feel thirsty at first.
- Use the break to check your feet and hands. Fix small discomfort immediately.
- Keep your expectations flexible about reaching the highest point. The tour adapts to conditions.
And if your guide includes gear like spikes based on trail conditions, listen when they explain why. That is not extra talk, it is how you keep your footing.
Should You Book This Uphill Snowshoe Tour?
Book it if you want an active Lofoten winter outing with real uphill effort, guided nature explanations, and the chance for strong views from higher ground. It is also a good fit if you do not want to wrestle with snowshoe rentals and you prefer learning winter basics from an experienced guide.
Skip it if uphill snowy terrain sounds like a bad time for your body right now, or if mobility limitations make climbing unsafe. The tour is designed for people who can walk uphill on snowy mountains.
If you are in the middle fitness zone and you want a guided way to see Lofoten from above, this uphill snowshoeing version from Polar-folk at Gimsøystraumen is a solid bet. You come for the white winter scenery, but you leave with the satisfaction of having earned the view.
FAQ
How long is the uphill snowshoeing tour?
The tour lasts 4 hours total.
Do I need snowshoeing experience before I go?
No. The provider says there is no need for prior snowshoeing experience, and the guide will explain the gear.
What gear is included in the tour price?
You get snowshoes and poles, and spikes if they are needed based on the conditions.
What should I bring with me?
Bring warm, comfortable winter clothing (preferably water repellent), a windbreaker, waterproof boots, hats and gloves, a daypack, water, and weather-appropriate outdoor clothing. Snacks and drinks are not included.
Where do I meet the guide?
Meet at the rest place at Gimsøy bridge, Gimsøystraumen rasteplas (large parking area with a red building). Go to the red building entrance where your guide will be waiting.
Is the tour only for advanced hikers?
No, but it does require medium fitness. You need to be able to walk uphill on snowy mountain terrain. Difficulty can vary depending on current conditions.
What is the minimum age?
Children under 16 are not suitable for this tour.
Is it suitable for people with mobility impairments?
No, it is not suitable for people with mobility impairments.
Can I cancel, and can I pay later?
You can cancel up to 24 hours in advance for a full refund, and you can reserve now and pay later (paying nothing today).
Recently added around Norway
- From Honningsvåg: VIP North Cape and Kingcrab Tour★ 4.4 · 93 reviews
- Bergen: Power of Vøringsfossen – our Most Iconic Waterfall★ 4.6 · 10 reviews
- Ulvik: Hardangerfjord Ultimate RIB Tour★ 4.7 · 39 reviews
- Voss High Rope & Zipline Park★ 4.7 · 3 reviews
- Ulriken Bergen: Enjoy a 3-course lunch with panoramic views★ 4.9 · 21 reviews
- Ulvik adventure: Exploring Hardangerfjord’s Osafjord by RIB★ 4.7 · 22 reviews
- Tromsø: Winter Fjord Road Trip★ 4.8 · 102 reviews
- Tromsoe: Make your own silver ring in a goldsmith workshop★ 4.9 · 124 reviews
Snowshoe Hikes, compared.
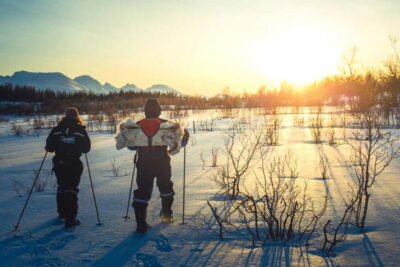
Guided Husky Snowshoe Hike and Husky Camp Visit
Read our review →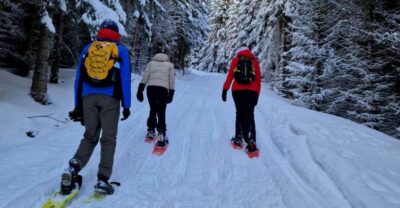
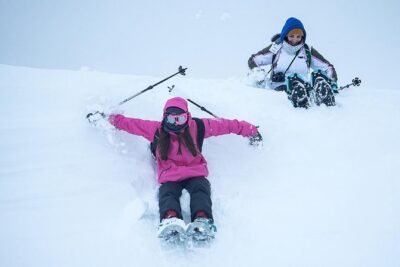
Tromso Snowshoeing – Valley, Fjord Views, Wildlife, Meal & Pickup
Read our review →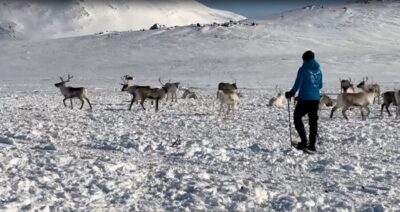
Snowshoeing Tour & Reindeer Encounter with Lunch
Read our review →
Aurora Crystal Lavvo Experience with Snowshoeing
Read our review →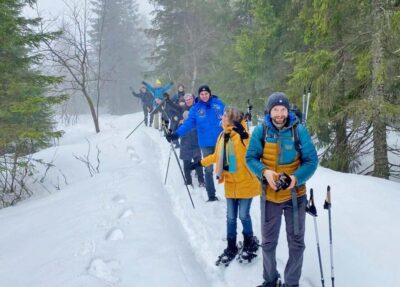
Browse the lists this tour appears in