
Review · TROLLTUNGA HIKES
Odda: Trolltunga Winter Hike on Snowshoes
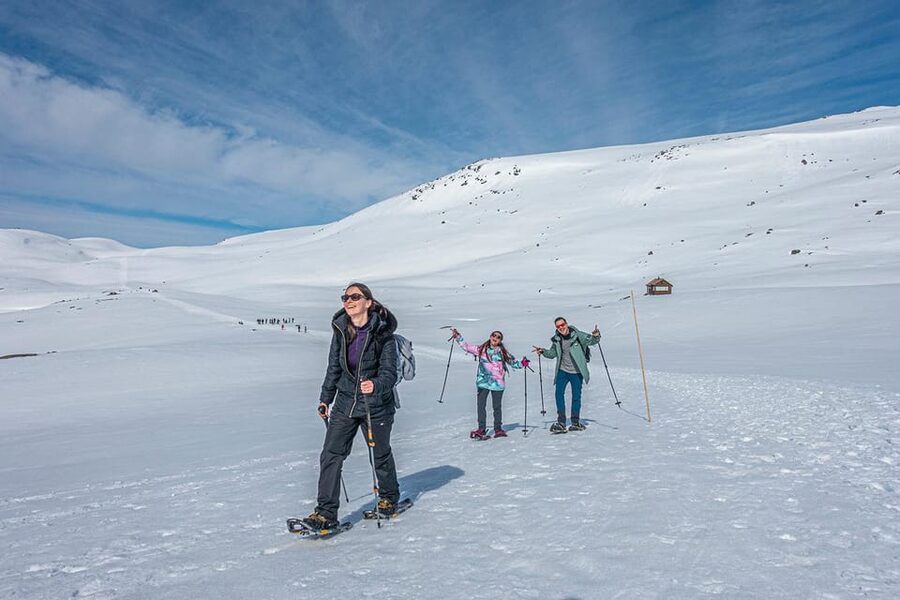
Snowshoes, views, and a tongue of stone. This winter hike to Trolltunga is special because you earn the big viewpoint on foot, then end the day with an adrenaline hit on a snowracer slide. I especially like the combo of guided snowshoe trekking through snowy scenery and the satisfying, fun return ride that turns a long day into something you actually look forward to. One drawback to plan for up front is the mountain and weather are serious, so if you fear heights, struggle with vertigo, or you have low fitness, this is not the right match.
What makes this experience work well is the way the day is structured. You start with an easy walk to warm up, then shift to snowshoes for the steepest climb, and you finish with an easier snowtrail back before the snowracer finale. The guides also help with photos throughout, so you are not stuck fumbling with a camera while everyone else stands there waiting. Still, you will be outside for roughly 10 hours total, so you need real winter gear and real food, not just a snack and good intentions.
One more point I respect: this is run by Trolltunga Active, and they have been doing winter tours since 2015, with safety and mountain reading as core priorities. If conditions change, they will adjust, and you should listen closely when they brief you. That matters a lot on this route, because you are hiking in cold, snowy terrain where footing and wind can shift quickly.
In This Review
- Key things to know before your Trolltunga winter hike
- Skjeggedal meet-up and the 7:30 AM start you’ll feel in your legs
- Mågelitopp to Gryteskar: where the climb gets steep and your snow skills count
- Past Trolltunga, the best moments are the route views and guide-led breaks
- Reaching Trolltunga: the winter rock viewpoint with Folgefonna on the horizon
- The return that actually feels easier, plus the snowracer finale from P3 to P2
- Gear list that keeps you warm and saves your day
- How hard is it, really, and who should skip it
- Price and value: what you are paying for, and what is on you
- Who this Trolltunga snowshoe hike fits best
- Should you book this snowshoe trek to Trolltunga?
- FAQ
- How long is the Trolltunga winter snowshoe hike?
- Where do we meet for the tour?
- What time does the tour start?
- Is the tour guided and in English?
- What gear is included, and what gear might you rent?
- Are meals and drinks included?
- What should I bring for warmth and energy?
- Is the snowracer ride included?
- Who should not take this tour?
- Can I cancel or pay later?
Key things to know before your Trolltunga winter hike
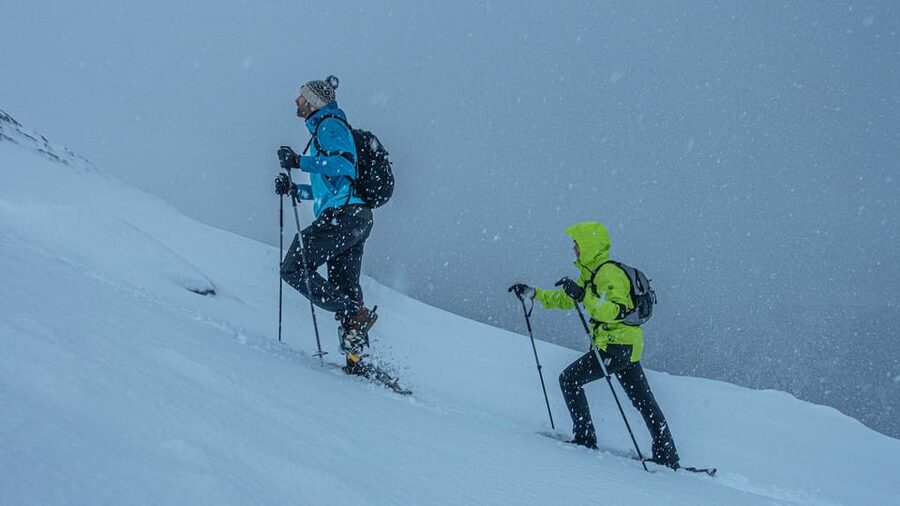
- You’ll tackle the steepest uphill at Gryteskar after switching from snow walking to snowshoes.
- Ringedalen views are part of the payoff, including frozen waterfalls and wind-carved snow shapes.
- Photos are actively helped by your guides during the hike, not just at the destination.
- Gear can be provided, like micro spikes or snowshoes if needed, plus hiking poles.
- The final thrill is included, a snowracer return slide from P3 down to P2.
- Plan for 10 hours outside, and bring enough food to keep your energy steady.
Skjeggedal meet-up and the 7:30 AM start you’ll feel in your legs
Your day starts at the Trolltunga Active store next to the P2 parking in Skjeggedal. Expect a group check-in and a proper briefing before you move, including a look at how everyone is prepared and how you should handle the terrain. If you need gear, they can help with rentals, so arrive ready to listen and get set up efficiently.
The tour kicks off at 7:30 AM, then you begin with about a 4 km warm-up hike from Skjeggedal up toward Mågelitopp. This part is not the main challenge, but it matters because it gets your body used to winter pacing and footing. You also get a chance to settle into the rhythm of the group and follow the guide’s instructions before you hit the snowshoe segment.
From Mågelitopp, you switch to snowshoes. This transition is key to your comfort, because snowshoe fit and straps affect balance and energy use. If your pack, clothing layers, or footwear feel slightly off, the first part of the day is your window to fix that.
More Trolltunga Hikes in Hardangerfjord
- Odda: Full-Day Trolltunga Via Ferrata & Sky Ladder Adventure
★ 4.8 · 115 reviews - Odda: Overnight Hike to Trolltunga
★ 5.0 · 56 reviews - Overnight: Trolltunga Via Ferrata Sky Ladder Glamping
★ 5.0 · 33 reviews
Mågelitopp to Gryteskar: where the climb gets steep and your snow skills count
After the warm-up, the tour shifts into snowshoe mode. The guide then has you “conquer” the steepest uphill on the route at Gryteskar, which is where many first-timers feel the workload most clearly. I like this design because it makes the hardest part early enough that the rest of the day feels more manageable.
Even though it is the steepest section, it is not described as a mindless grind. You are still moving through winter terrain with periods of easier up and down travel afterward, which helps you recover and keep your energy for the destination. If weather is good, this hike often feels tough but doable, which is exactly what you want to hear before committing to a 10-hour day.
This is also the segment where micro spikes or snowshoes (if needed) become practical, not just technical. Slippery snow can turn steady walking into chaotic walking fast, so trust the footwear plan and walk like the guide is right there holding the line, because they effectively are. Keep your focus on small steps and stable posture, especially when the slope steepens.
Past Trolltunga, the best moments are the route views and guide-led breaks
Once you’ve handled the uphill at Gryteskar, the hike becomes more flowing with easier stretches. You move through changing terrain until you reach the area called Troll’s Tongue, where the views become a real part of the experience, not just decoration for the photos.
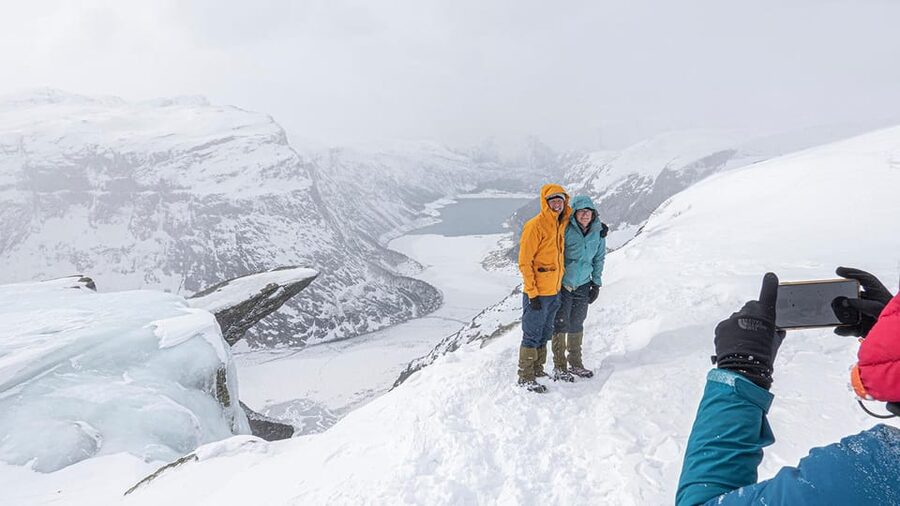
This section is where I’d expect you to slow down mentally. You get to admire snowy mountains, the Ringedalen valley with steep mountain walls, and frozen waterfalls in winter. You can also spot snow formations shaped by wind, which adds variety beyond “blank snow everywhere.”
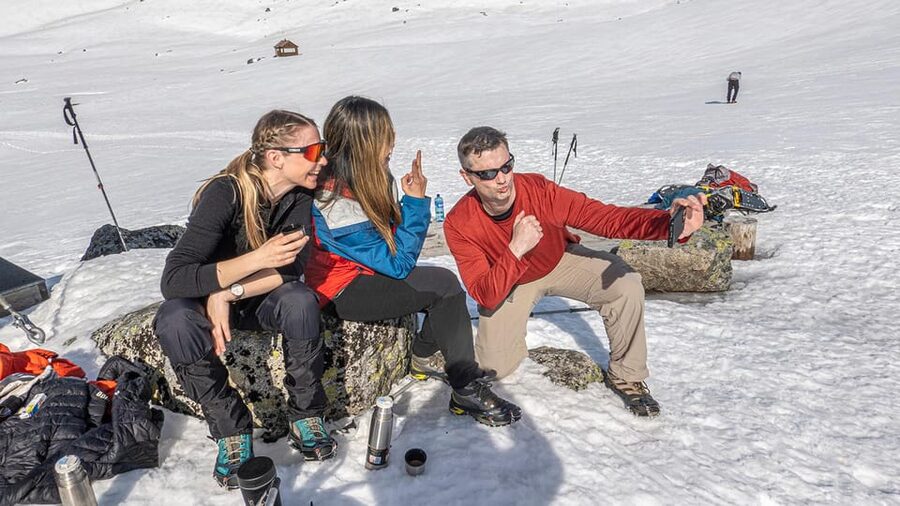
The tour is not a nonstop march. There are breaks along the way, and the point is both practical and social: you can refresh yourself, reset your breathing, and enjoy the group atmosphere. More importantly, the guides use these moments to share local history and nature stories, and they help you spot the best photo spots as you go.
If you care about taking good pictures, pay attention during these pauses. The guides help with photo timing throughout the tour, which saves you from missing the right light or the right angle because you were busy trying to set up your tripod in a moving winter line.
Reaching Trolltunga: the winter rock viewpoint with Folgefonna on the horizon
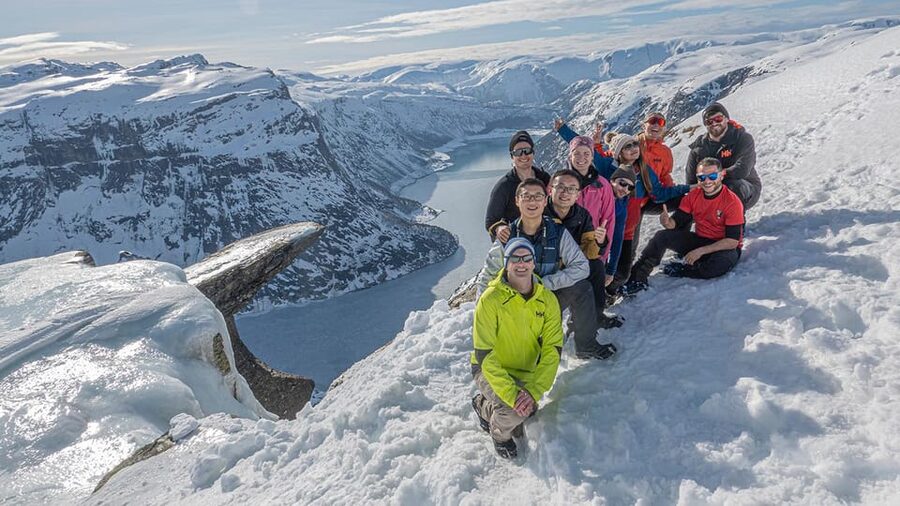
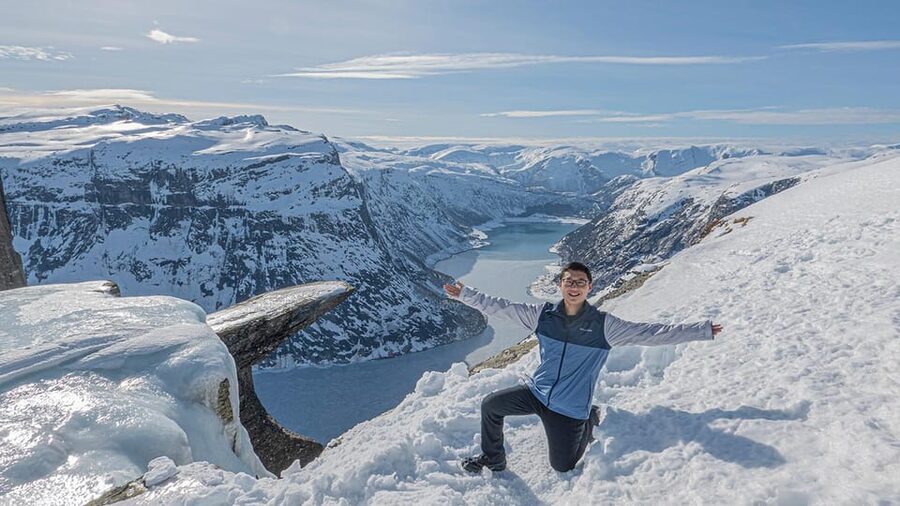
Eventually you arrive at Trolltunga in its winter suit, rising above the Lake of the Rings. This is the payoff you came for: the famous rock formation looks dramatic in snow, and the winter setting makes it feel more remote and intense than in summer.
From here you also get the chance to see the Folgefonna glacier in the distance, which adds a larger sense of scale to the whole region. I like that the experience does not treat Trolltunga as a standalone object. It frames the destination inside a bigger natural picture, so the viewpoint feels earned, not random.
At the destination, there is time for photoshoot and more stories from the guides. If you are the type who gets nervous when standing near drop-offs, note that the hike is listed as not suitable for people afraid of heights or with vertigo. This does not mean the guides are careless, it means the environment can be psychologically tough in winter wind and snow.
So if your comfort is uncertain, be honest with yourself early. Listening to the guide’s safety and staying aware of your footing is the smartest way to handle it.
More Snowshoe Hikes in Hardangerfjord:
- From Tromsø: Snowshoeing Hike with Picnic Lunch and Photos
★ 4.9 · 840 reviews - From Tromsø: Guided Husky Snowshoe Hike and Husky Camp Visit
★ 4.9 · 715 reviews - From Tromsø: Snowshoe Hike in the Arctic
★ 4.9 · 467 reviews - Tromso Snowshoeing – Valley, Fjord Views, Wildlife, Meal & Pickup
★ 5.0 · 398 reviews
The return that actually feels easier, plus the snowracer finale from P3 to P2
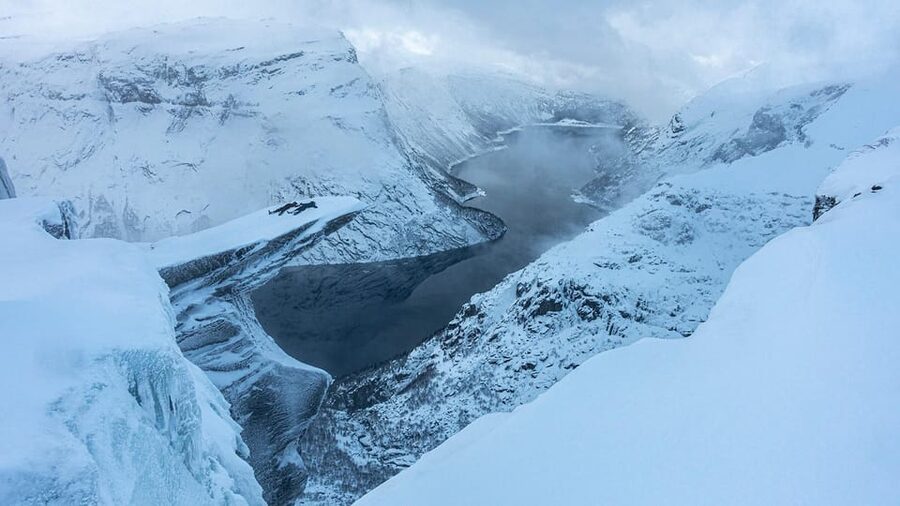
The return is often easier because the snow trail is set up for walking, with more downhill and less brute effort than the earlier climb. This is a huge deal on a long day, because the hardest part of winter hiking is not just the ascent, it’s what happens to your energy after hours outside.
During the descent and return, you also get another chance for atmosphere. In some cases you may catch a nice sunset walking down Gryteskar, which can turn the last stretch into a calm, scenic finish. Even if sunset does not happen, the later part of the day is still structured so you can recover and enjoy your hiking friends, the kind of people you only meet on the same cold mountain schedule.
Then comes the great finale: a snowracer slide down the road from P3 to P2, about 4 km. The way it is described is exactly what you want at the end of a 10-hour trek, fun and straightforward. It is included in the price, so you do not have to negotiate anything on-site or worry about whether you will get the thrill time at the end of the day.
Gear list that keeps you warm and saves your day
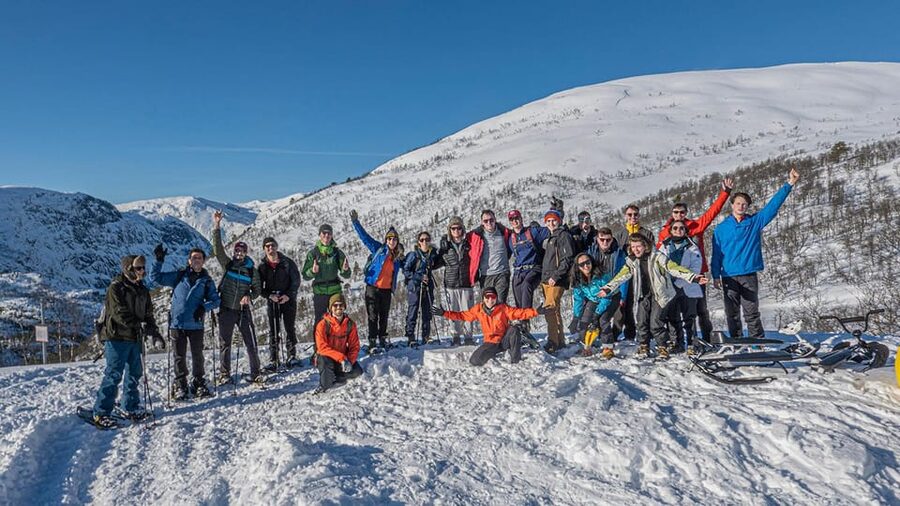
Winter hiking lives or dies on clothing and fuel. The tour strongly recommends warm layers, and it specifically warns against cotton, since cotton gets freezing cold when it is wet. Think wool and synthetics, and keep your system simple enough that you can adjust quickly when you start sweating.
Here’s the packing reality for a 10-hour trek: bring a lot of food, at least double what you would eat on a normal day. Pack things like sandwiches, nuts, chocolate, bananas, and other easy, calorie-dense snacks. Bring 2 litres of water, and if you have it, a thermos with hot water is a nice advantage in cold conditions.
For footwear, you want sturdy, waterproof, warm hiking boots plus woolen socks and spare socks. If you only bring one pair, a wet sock can turn into misery. You’ll also want a wind- and waterproof shell jacket and pants, plus a beanie or warm headband, and gloves or mittens with a spare pair.
Eyes and head matter too. Bring sunglasses and/or goggles for snow and wind, plus sunscreen, since brightness can be intense. A head lamp is also recommended, which is a practical move if daylight is fading by the time you are heading back.
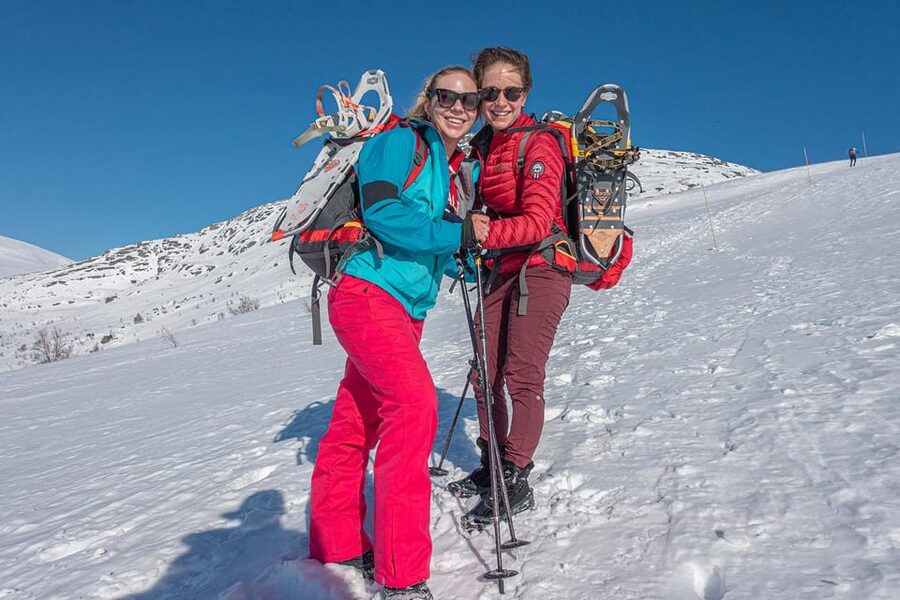
Your backpack matters as much as your clothing. Plan on a 40 litre capacity backpack, leave space for micro spikes, and be aware you should be able to strap snowshoes onto your backpack if needed.
How hard is it, really, and who should skip it
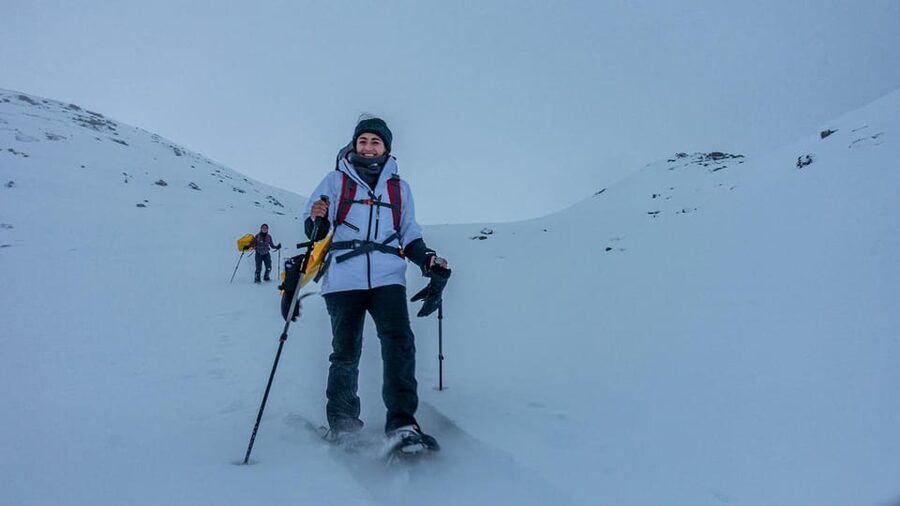
This is not marketed as an easy stroll. It is a 10 to 12 hour winter trek to Trolltunga, with a steep uphill segment at Gryteskar and extended time outdoors. That said, the hike is also described as not as hard as people might assume when weather is good, and it is built with breaks and guide support.
My practical advice is to judge it as a winter endurance day, not a short hike. You need enough fitness to keep a steady pace uphill and then keep moving during the return. If you have low fitness, the tour specifically lists it as not suitable, and you should take that seriously.
It is also not suitable for people with heart problems. And for people who do not handle heights well, it is not suitable if you are afraid of heights or have vertigo. Winter wind can amplify stress, and snow can hide uneven ground, so comfort and mental focus are part of safety here, not just strength.
The good news is that you are not solo. You get a professional guide with safety and first aid equipment, plus instruction on preparation and how to read weather during winter. That makes a huge difference when conditions shift.
Price and value: what you are paying for, and what is on you
The price is $194 per person for a roughly 10-hour experience. When I look at value in a winter mountain day like this, I focus on what prevents mistakes and what keeps you safe, not just what you see at the end.
Inclusions that raise the value: a professional guide and instructor with safety and first aid equipment, hiking poles, and micro spikes or snowshoes if needed. You also get pictures with guide help during the entire tour, plus information about local nature and history. If you are staying at the partner Trolltunga Hotel and transport is part of your accommodation, free transport to the meeting point is included.
What is not included is meals and drinks, and transportation to and from the starting point. That means you have to bring real food planning, and you have to manage your own travel logistics to Skjeggedal.
So you are paying for guided access to a top nature attraction in winter, plus the tools and the structure that make it safer and smoother. You are not paying for a casual daytime activity where you show up lightly dressed and wing it. If you show up prepared, the guidance and gear help the day feel more like a well-run expedition than a risky solo outing.
Who this Trolltunga snowshoe hike fits best
This tour is ideal if you want the famous Trolltunga experience without waiting for summer. It also fits well if you like winter scenery and you are excited by the idea of snowshoes, long mountain hours, and photo stops guided by someone who knows where to stand.
I’d also recommend it if you enjoy a group day with a teaching element. The guides share local history and nature stories, and they help with photo timing, so you come away with more than just a few snaps. You also get the snowracer return, which makes the end feel like a reward instead of just an exit.
If you are traveling with a tight schedule, the 10-hour duration is a full commitment. Make sure you have enough buffer time the day before and after. And if you are even slightly unsure about heights or vertigo, skip it. The tour’s own suitability notes are a clear signal that winter conditions can be emotionally challenging.
Should you book this snowshoe trek to Trolltunga?
I think you should book if you want a guided winter route that prioritizes safety, structure, and memorable scenery, and you are comfortable with a full winter day outdoors. The steep uphill at Gryteskar is the moment to be mentally ready for, and the snowracer slide from P3 to P2 is the moment you will be grateful you came.
I would not book if you have vertigo, fear heights, heart issues, or you know your fitness is low for sustained 10-hour hiking in cold conditions. And if you hate cold weather or you plan to underpack food and layers, you’ll make the day harder than it needs to be.
If you do book, pack like you mean it: double your food, bring real water, and dress in wind- and waterproof layers with spare socks. That’s the difference between just surviving a winter hike and actually enjoying Trolltunga in its winter suit.
FAQ
How long is the Trolltunga winter snowshoe hike?
The duration is listed as 10 hours (with availability for starting times). The hike is described as a 10 to 12 hour winter trek to Trolltunga.
Where do we meet for the tour?
You meet at the Trolltunga Active store, located next to the P2 parking in Skjeggedal.
What time does the tour start?
The tour starts at 7:30 AM.
Is the tour guided and in English?
Yes. The tour includes a live guide and it is run in English.
What gear is included, and what gear might you rent?
The tour includes hiking poles. Depending on conditions, micro spikes or snowshoes may be provided if needed, and there is also gear rental mentioned if you need it.
Are meals and drinks included?
No. Meals and drinks are not included, so you should bring your own food and water.
What should I bring for warmth and energy?
You should bring warm clothing, layers, warm wool socks (and spare socks), a wind- and waterproof shell jacket and pants, gloves, a beanie, and a head lamp. You should also bring lots of food (at least double a normal day) and about 2 litres of water.
Is the snowracer ride included?
Yes. The return snowracer ride from P3 to P2 is included.
Who should not take this tour?
The tour is listed as not suitable for pregnant women, people with heart problems, people afraid of heights, people with vertigo, and people with low level of fitness.
Can I cancel or pay later?
Free cancellation is available up to 24 hours in advance for a full refund. You can also reserve now and pay later.
More Hiking Tours in Hardangerfjord
- Trolltunga: Trolltunga Summer Hike
★ 4.9 · 32 reviews - Guided hike to Pulpit Rock Preikestolen
★ 5.0 · 390 reviews - Trolltunga Classic Overnight Hike
★ 5.0 · 336 reviews - From Stavanger: Pulpit Rock Guided Hike with Pickup
★ 4.9 · 294 reviews
Recently added around Hardangerfjord
- Ulvik: Hardangerfjord Ultimate RIB Tour★ 4.7 · 39 reviews
- Ulvik adventure: Exploring Hardangerfjord’s Osafjord by RIB★ 4.7 · 22 reviews
- Trolltunga: Trolltunga Sunset Glamping★ 4.9 · 15 reviews
- Hardangerfjord Ultimate RIB adventure from Ulvik★ 5.0 · 27 reviews
- Ulvik scenic RIB adventure to Osafjord a Hardangerfjord branch★ 5.0 · 10 reviews
- Private Tour-Hardangerfjord, Voss Gondol &4 Great Waterfalls★ 5.0 · 4 reviews
- Odda: RIB Boat Tour on the Hardangerfjord★ 4.2 · 12 reviews
- Øystese: Hardangerfjord RIB safari to the Fyksesund branch★ 4.9 · 30 reviews
Trolltunga Hikes, compared.
Full-Day Trolltunga Via Ferrata & Sky Ladder Adventure
Read our review →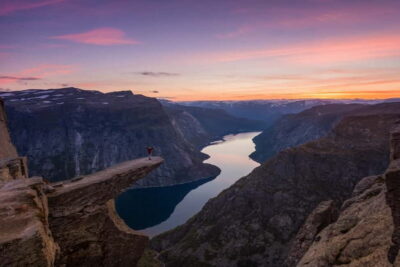
Overnight: Trolltunga Via Ferrata Sky Ladder Glamping
Read our review →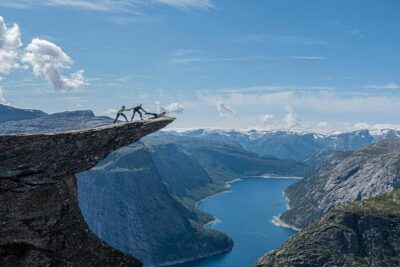
5-Hour Guided Hike Tour to Himakånå The Mini Trolltunga
Read our review →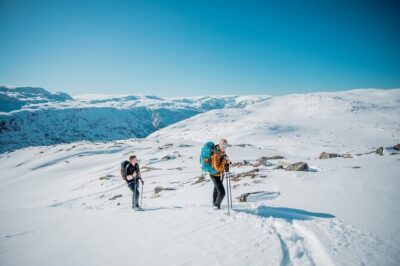
Browse the lists this tour appears in