
Review · TROLLTUNGA HIKES
Trolltunga: Trolltunga Summer Hike
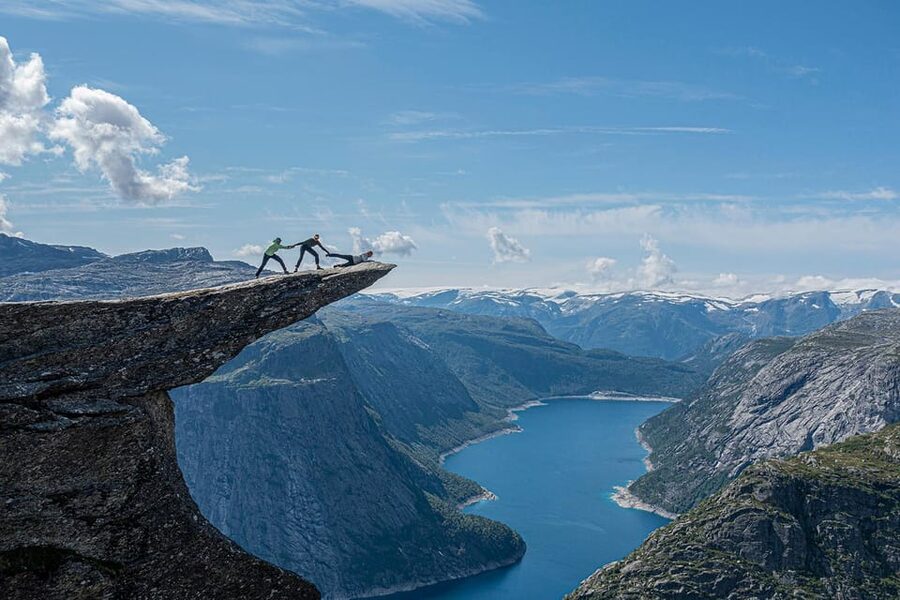
Trolltunga is Norway’s cliff-with-a-punchline hike. You tackle the long path with a guide doing the hard parts for you, then you stand on the famous rock ledge peeking out over the valley, with Ringedalsvatnet looking unreal below. I like that it stays fun and stress-free with safety gear, story stops, and lots of photo help, plus shuttle time between P2 and P3 so you start the day with more energy. The one watch-out is simple: it is a long hike, and the route can still run into a 9 to 12 hour day depending on conditions and pace.
Here’s the best part: the viewpoints keep stacking. You get valley views during the climb, then the big moment over the blue lake, and far in the distance you can spot Folgefonna Glacier when the weather cooperates. I also like the photo approach, including that classic guided only needle view moment when weather allows rappelling down. My only caution is that it is not a casual stroll, so if you have low fitness, heart problems, or you are pregnant, this is not the right match.
In This Review
- Quick Highlights Worth Planning For
- Enter Trolltunga: Why This Ledge Still Pulls People From Around the World
- Meeting at Skjeggedal P2, Then Using the P2 to P3 Shuttle
- The Day on Foot: Timing, Effort, and What Makes It Feel Manageable
- Ringedalsvatnet Blue Lake and the Valley Views That Keep Coming
- The Distant Win: Spotting Folgefonna Glacier From Far Away
- Trolltunga: The Needle-Rock Moment and Time to Breathe on the Ledge
- Why Going Guided Feels Better on a Long Route (Especially for Photos)
- Price and Value: What $183 Buys You That DIY Usually Costs
- What to Pack: Food, Water, Traction, and Rain-Proof Norway Reality
- Who Should Book This Trolltunga Hike, and Who Should Skip It
- Should You Book Trolltunga Summer Hike?
- FAQ
- How long is the Trolltunga hike?
- Where do I meet the guide?
- Are hiking poles and traction provided?
- What should I bring for food and water?
- What photo support do you provide at Trolltunga?
- What languages are available?
Quick Highlights Worth Planning For
- Shuttle between P2 and P3 helps you save energy before the main climb, when conditions allow
- Trolltunga guided finale includes time on the rock after the main photo moment
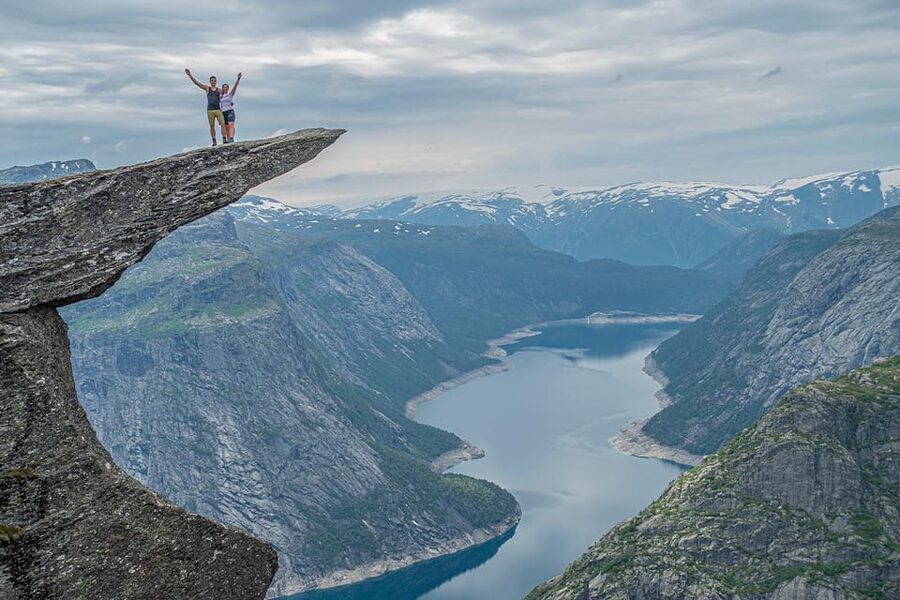
- Ringedalsvatnet views from multiple points, with that intense blue color when skies are clear
- Folgefonna Glacier in the distance (visibility varies, but it is a real wow target)
- Guides carry safety and first aid gear and handle traction needs like microspikes or snowshoes if required
- Needle-view photos are available on guided tours when weather allows rappelling down for the best shots
Enter Trolltunga: Why This Ledge Still Pulls People From Around the World
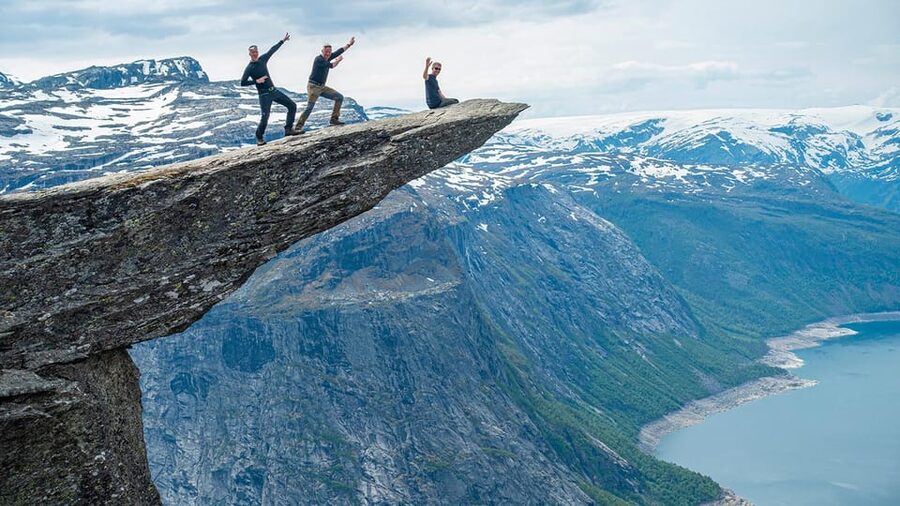
If you like hikes where the reward is obvious from the moment you see the rock, Trolltunga is that kind of trip. You are hiking to a viewpoint that sticks in your brain, because you are literally looking down from a place that feels too high for a normal day out.
What makes this version of the experience especially appealing is how the day is built. You are not just dropped off and told good luck. You go with a professional guide who acts like storyteller, motivator, and problem-solver all in one. That matters on a long route, because fatigue turns small mistakes into big ones. Here, the pacing includes snack and drink stops, plus guidance on where to stand, when to take pictures, and how to read the terrain.
Also, Trolltunga is famous, but the views around it are what keep the day alive. You are not staring at a single prize the whole time. You get changing angles on the valley, then the big lake, then the distant glacier, and then back to Trolltunga itself.
More Trolltunga Hikes in Hardangerfjord
- Odda: Full-Day Trolltunga Via Ferrata & Sky Ladder Adventure
★ 4.8 · 115 reviews - Odda: Overnight Hike to Trolltunga
★ 5.0 · 56 reviews - Overnight: Trolltunga Via Ferrata Sky Ladder Glamping
★ 5.0 · 33 reviews
Meeting at Skjeggedal P2, Then Using the P2 to P3 Shuttle
You meet at Trolltunga Active Base, the shop next to the P2 parking in Skjeggedal. From there, you take a shuttle bus to P3 to start the hike, saving you time and energy before the climb really gets going.
That shuttle detail is more than convenience. When you are about to hike for most of the day, shaving off pre-hike walking can reduce early-day soreness and help you keep a steadier pace. And in a place where weather can change quickly, arriving at the trail start with your legs fresh is a win.
Two practical notes I’d plan around:
- The shuttle is specifically described for P2 to P3 and back, and it depends on weather conditions.
- Plan to get yourself to P2 on your own if you are coming from farther away, because the provided transport is tied to the trail start points, not hotel-to-trail door service.
The Day on Foot: Timing, Effort, and What Makes It Feel Manageable
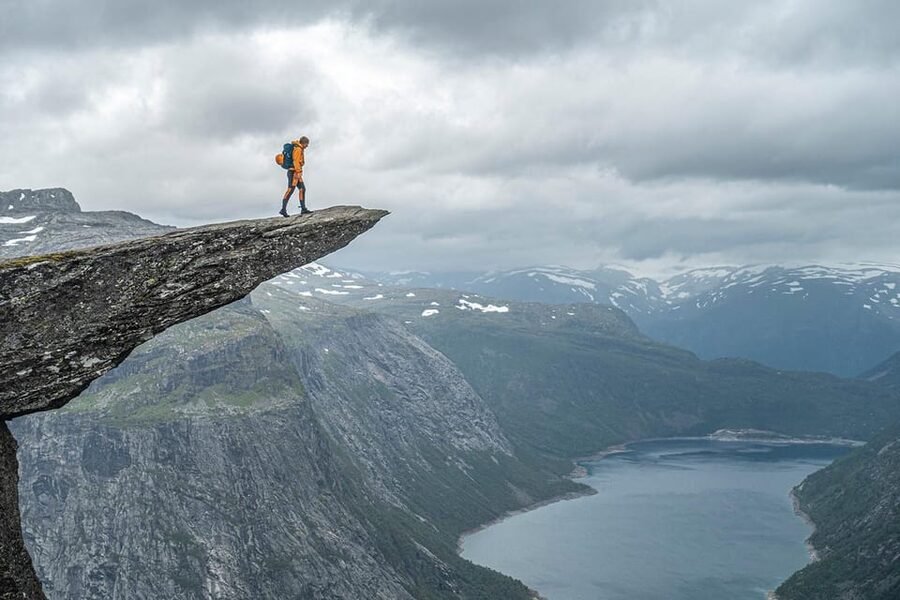
This is a long hike. The experience is listed as about 10 hours, and the walking time can run 7 to 9 hours, depending on your pace and conditions. The route can also take 9 to 12 hours when you factor in the full summer trail, plus the breaks you will actually want on a day like this.
So what should you expect in real life? Think of it as an extended effort with a payoff, not a race. The terrain starts with an uphill segment that feels tougher, then it becomes milder after the initial climb. That change is important because it helps you settle into the rhythm of the day. Once you feel the gradient easing, the hike starts to feel more like long sightseeing with steps, less like an uphill grind.
You also get several small stops along the way for snacks and drinks. Those breaks are not just for food. They keep the group together and help you regroup before the next viewpoint stretch. Add in the guide’s motivation and local explanations, and the day stops feeling like a checklist.
Ringedalsvatnet Blue Lake and the Valley Views That Keep Coming
The view of Ringedalsvatnet is the kind of reward that makes people forget to complain. You get it as the day opens up, and then you keep finding new angles from different viewpoints as you hike.
What I like about targeting multiple viewpoints is that you never hit one big wow and then just slog to the end. Instead, you get repeated visual hits:
- First, you see how steep and dramatic the valley is.
- Then you connect the trail to the bigger geography, with the lake sitting out there like a postcard.
- Finally, you reach the zone where the Trolltunga ledge and the valley both make sense together.
And yes, the lake can look especially intense when the light is right. Even when the sky is not perfect, the scale of the valley still hits hard.
Same corner of the country, a completely different day out:
- From Eidfjord: Vøringfossen Waterfall Nature Tour with Guide
★ 4.8 · 890 reviews - Eidfjord: 1-Hour Fjord RIB Tour
★ 4.9 · 215 reviews - Eidfjord Guided tour Vøringfossen Waterfall & National Park
★ 4.5 · 147 reviews - From Norheimsund: Hardangerfjord & Fyksesund RIB Fjord Tour
★ 4.9 · 91 reviews
The Distant Win: Spotting Folgefonna Glacier From Far Away
One of the best parts of guided hikes is that the guide can point out what you might miss. Here, there is a specific target: Folgefonna Glacier in the far distance.
Glacier spotting is not guaranteed because visibility depends on weather and timing. But having it on your mental map changes the experience. You start scanning the horizon instead of just focusing on your feet. When you do catch it, it feels like you unlocked another layer of Norway’s scale.
Trolltunga: The Needle-Rock Moment and Time to Breathe on the Ledge
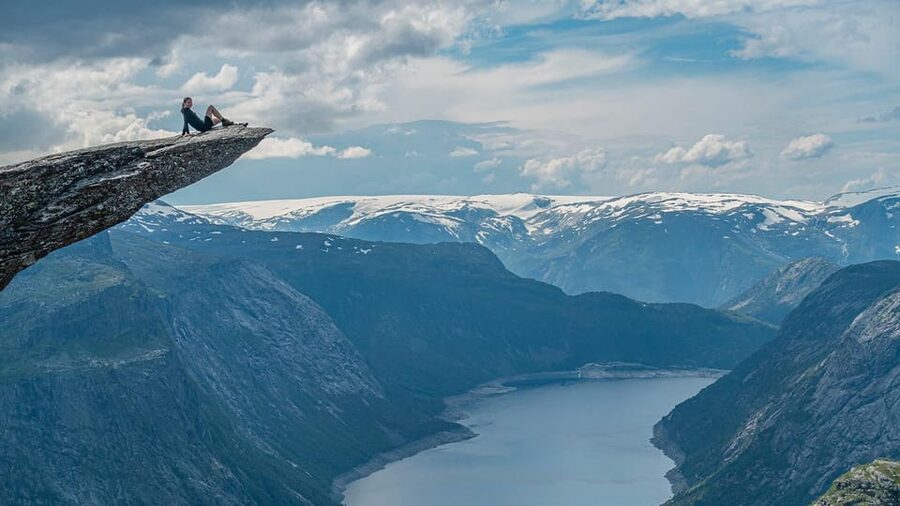
The main event is reaching the top of the famous rock formation where Trolltunga peeks out about 700 meters above the valley. This is the kind of height that makes your brain go, okay, this is real. When you stand there, you’re not just viewing the landscape, you’re in it, because your perspective flips from hillside hiking to cliff edge drama in seconds.
Photo support is a big deal on this hike. Your guides help with taking pictures during the tour, and there are special photos on Trolltunga with the needle view available only on guided tours. When weather conditions allow, the guide can rappel down to get the best shots of you. That detail is not just for better pictures. It also reduces stress, because you do not have to scramble for positioning while trying to stay balanced on the rock.
After the photo moment, you get some extra time around Trolltunga before heading back. That matters. The best hikes give you a few minutes to soak it in, not just a quick photo run and then back on the trail.
Why Going Guided Feels Better on a Long Route (Especially for Photos)
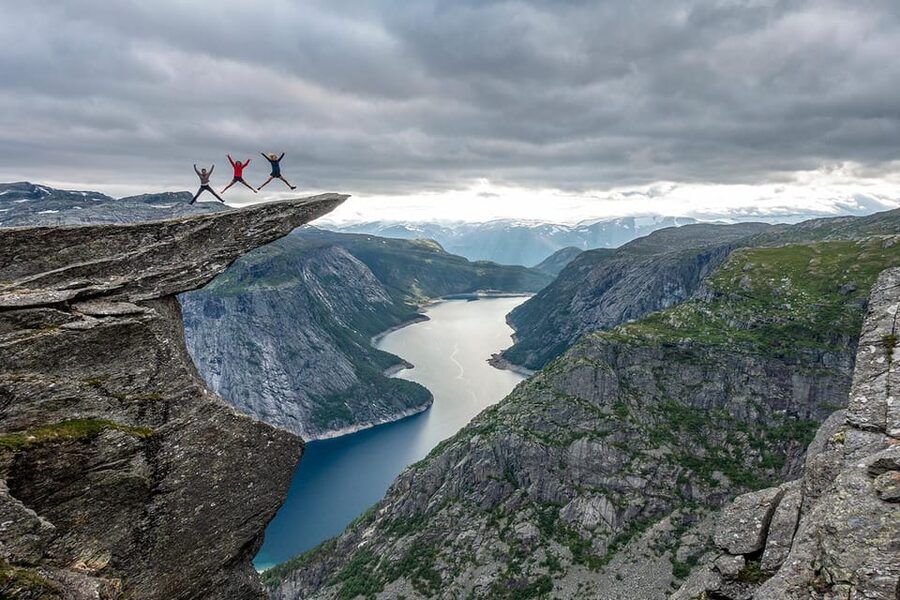
This is one of those hikes where the guide changes the whole day. You get a professional guide, storyteller, and motivator, carrying safety and first aid equipment. That’s the baseline.
Then you add the human stuff:
- Local knowledge about nature and local history makes the route more than exercise.
- The guide helps you find the best lunch and picture spots.
- Breaks come when you need them, not only when the group demands it.
- Guides manage the tricky parts when terrain and weather make things harder, including traction like microspikes or snowshoes if needed.
Guide personalities matter too. I’m using examples you might encounter on this tour, since the guide list includes people like Anke, Marty, and Barbara. The common theme is the way they keep the vibe upbeat while still handling practical matters like pace, breaks, and making the group feel comfortable.
Price and Value: What $183 Buys You That DIY Usually Costs
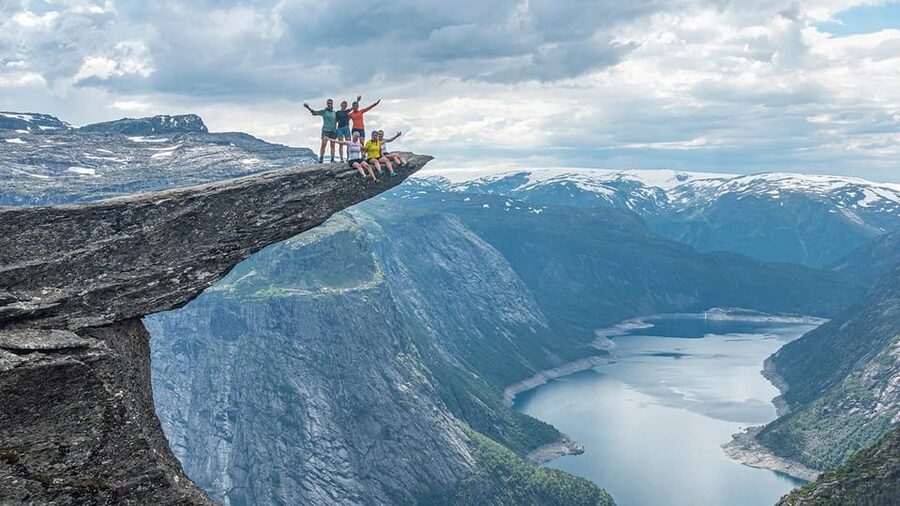
At $183 per person, this is not a budget activity. But it’s also not just you and a route map. You are paying for someone else to manage the tricky logistics of a long day in mountain weather, plus gear, plus photography support.
Here’s what you get for the price:
- Professional guide with safety and first aid equipment
- Hiking poles included (huge for a long descent and uneven steps)
- Micro spikes or snowshoes if needed
- Help with pictures throughout the hike
- Needle-view special photos on guided tours when rappelling is possible
- Transport from P2 to P3 and back, when weather conditions allow
If you are thinking about doing Trolltunga independently, you would have to replace those services with your own planning, gear, and a safer way to handle traction needs. Even if you manage it, you still give up the guidance that keeps the day moving smoothly, which on a 7 to 12 hour effort can make the difference between a great day and a frustrating one.
What to Pack: Food, Water, Traction, and Rain-Proof Norway Reality
Start with the basics:
- Comfortable shoes and proper hiking shoes
- Warm clothing and a windproof, waterproof shell jacket
- Rain gear, because weather can shift fast
- A camera (you’ll want it early and often)
- A backpack around 35 liters
Now the practical survival stuff:
- Bring a lot of food (sandwiches, nuts, chocolate, banana are specifically suggested)
- Bring about 1.5 liters of water (you can refill on some spots along the trail)
- If rain and low temperatures are in the forecast, plan extra cold protection: a wool base layer (not cotton), warm mid layer, waterproof shell pants, spare socks, beanie or headband, and gloves
You might not love cold feet, but you also will not enjoy a soggy cotton base layer either. Keep it functional. Bring what you would use for long mountain time, not just for a normal day out.
One more small but important rule: alcohol and drugs are not allowed.
Who Should Book This Trolltunga Hike, and Who Should Skip It
This tour is a great fit if you want:
- A long day with strong visual payoff
- Guidance on pacing and where to look for the best viewpoints
- A more supported experience, including photo help at the ledge
- The extra structure of snack and drink stops
It may not be the right fit if you:
- Have low level of fitness
- Have heart problems
- Are pregnant
If you are unsure about your stamina, treat this as a test of your endurance. You can’t make a steep, high cliff hike magically easy just because it’s guided.
Should You Book Trolltunga Summer Hike?
Book it if you want the most efficient way to reach Trolltunga with a guide doing the hard parts: safety gear, pacing, viewpoint navigation, and photo support, including that needle-view photo moment when conditions allow.
Consider skipping or switching to a different hike style if long mountain hiking is not your thing. This is a serious time commitment, and the trail can still turn into a 9 to 12 hour day depending on conditions.
If you do book, go in prepared with proper food and water, dress for wind and wet weather, and expect a long walk followed by a very high, very real ledge moment. That combo is exactly why Trolltunga keeps earning the hype.
FAQ
How long is the Trolltunga hike?
The experience is listed at about 10 hours. The hiking time can take 7 to 9 hours, and the full summer trail can run longer, up to around 9 to 12 hours depending on conditions and your pace.
Where do I meet the guide?
You meet at Trolltunga Active Base or shop next to the P2 parking in Skjeggedal. From there, you use the shuttle bus to start at P3.
Are hiking poles and traction provided?
Yes. Hiking poles are included, and micro spikes or snowshoes are provided if needed.
What should I bring for food and water?
Meals and drinks are not included, so bring your own. The guidance is to bring a lot of food and about 1.5 liters of water, with the option to refill at some points along the trail.
What photo support do you provide at Trolltunga?
Your guides help you take pictures during the tour. There are also special needle-view photos on guided tours when weather conditions allow rappelling down.
What languages are available?
The live tour guide speaks English and Norwegian.
More Hiking Tours in Hardangerfjord
- Odda: Trolltunga Winter Hike on Snowshoes
★ 4.7 · 9 reviews - From Tromsø: Snowshoeing Hike with Picnic Lunch and Photos
★ 4.9 · 840 reviews - From Tromsø: Guided Husky Snowshoe Hike and Husky Camp Visit
★ 4.9 · 715 reviews - From Tromsø: Snowshoe Hike in the Arctic
★ 4.9 · 467 reviews
Recently added around Hardangerfjord
- Ulvik: Hardangerfjord Ultimate RIB Tour★ 4.7 · 39 reviews
- Ulvik adventure: Exploring Hardangerfjord’s Osafjord by RIB★ 4.7 · 22 reviews
- Trolltunga: Trolltunga Sunset Glamping★ 4.9 · 15 reviews
- Hardangerfjord Ultimate RIB adventure from Ulvik★ 5.0 · 27 reviews
- Ulvik scenic RIB adventure to Osafjord a Hardangerfjord branch★ 5.0 · 10 reviews
- Private Tour-Hardangerfjord, Voss Gondol &4 Great Waterfalls★ 5.0 · 4 reviews
- Odda: RIB Boat Tour on the Hardangerfjord★ 4.2 · 12 reviews
- Odda: Trolltunga Winter Hike on Snowshoes★ 4.7 · 9 reviews
Trolltunga Hikes, compared.
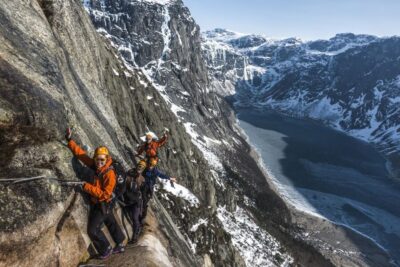
Full-Day Trolltunga Via Ferrata & Sky Ladder Adventure
Read our review →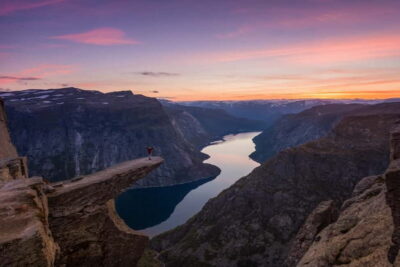
Overnight: Trolltunga Via Ferrata Sky Ladder Glamping
Read our review →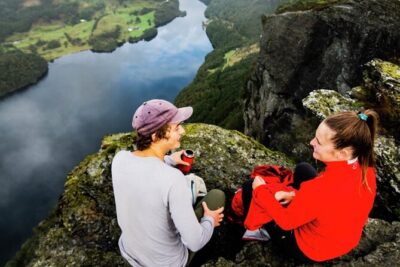
5-Hour Guided Hike Tour to Himakånå The Mini Trolltunga
Read our review →
Browse the lists this tour appears in